


As teachers, we live our lives from break to break. The last day of Thanksgiving break, I dabbled in outdoor holiday decorations for the 1st time. In about 2 hours, I transformed our front porch into a scene of tasteful Christmas bliss.


The best part about my project was that it only cost about $10.00! Here is what I started with:

I bought rolls of 15' Whit Pine garland from Home Depot at $7.00 each. I grabbed nails and 28 gauge wire (from this project) out of my craft box. I then took all of our tree trimmings (and a truck bed load's worth since HD gives it away for free!) and got to creating Christmas.
I first tacked up some nails and swagged some garland. I trimmed off the excess to save for my railings.

Then I used my supplies to add on some of my FREE trimmings to beef up the garland.


Here's a snapshot of what it will start to become....

After finishing, I just strung up some lights...

I went on to use the rest of that roll plus about 8' of the second roll to affix to my railings with twine. I strung some lights around the railings and the corner bush.

I put out my peace rug!

And even UGA got a little Christmas makeover.

I even slaved for hours to trade out my plants in my window boxes....
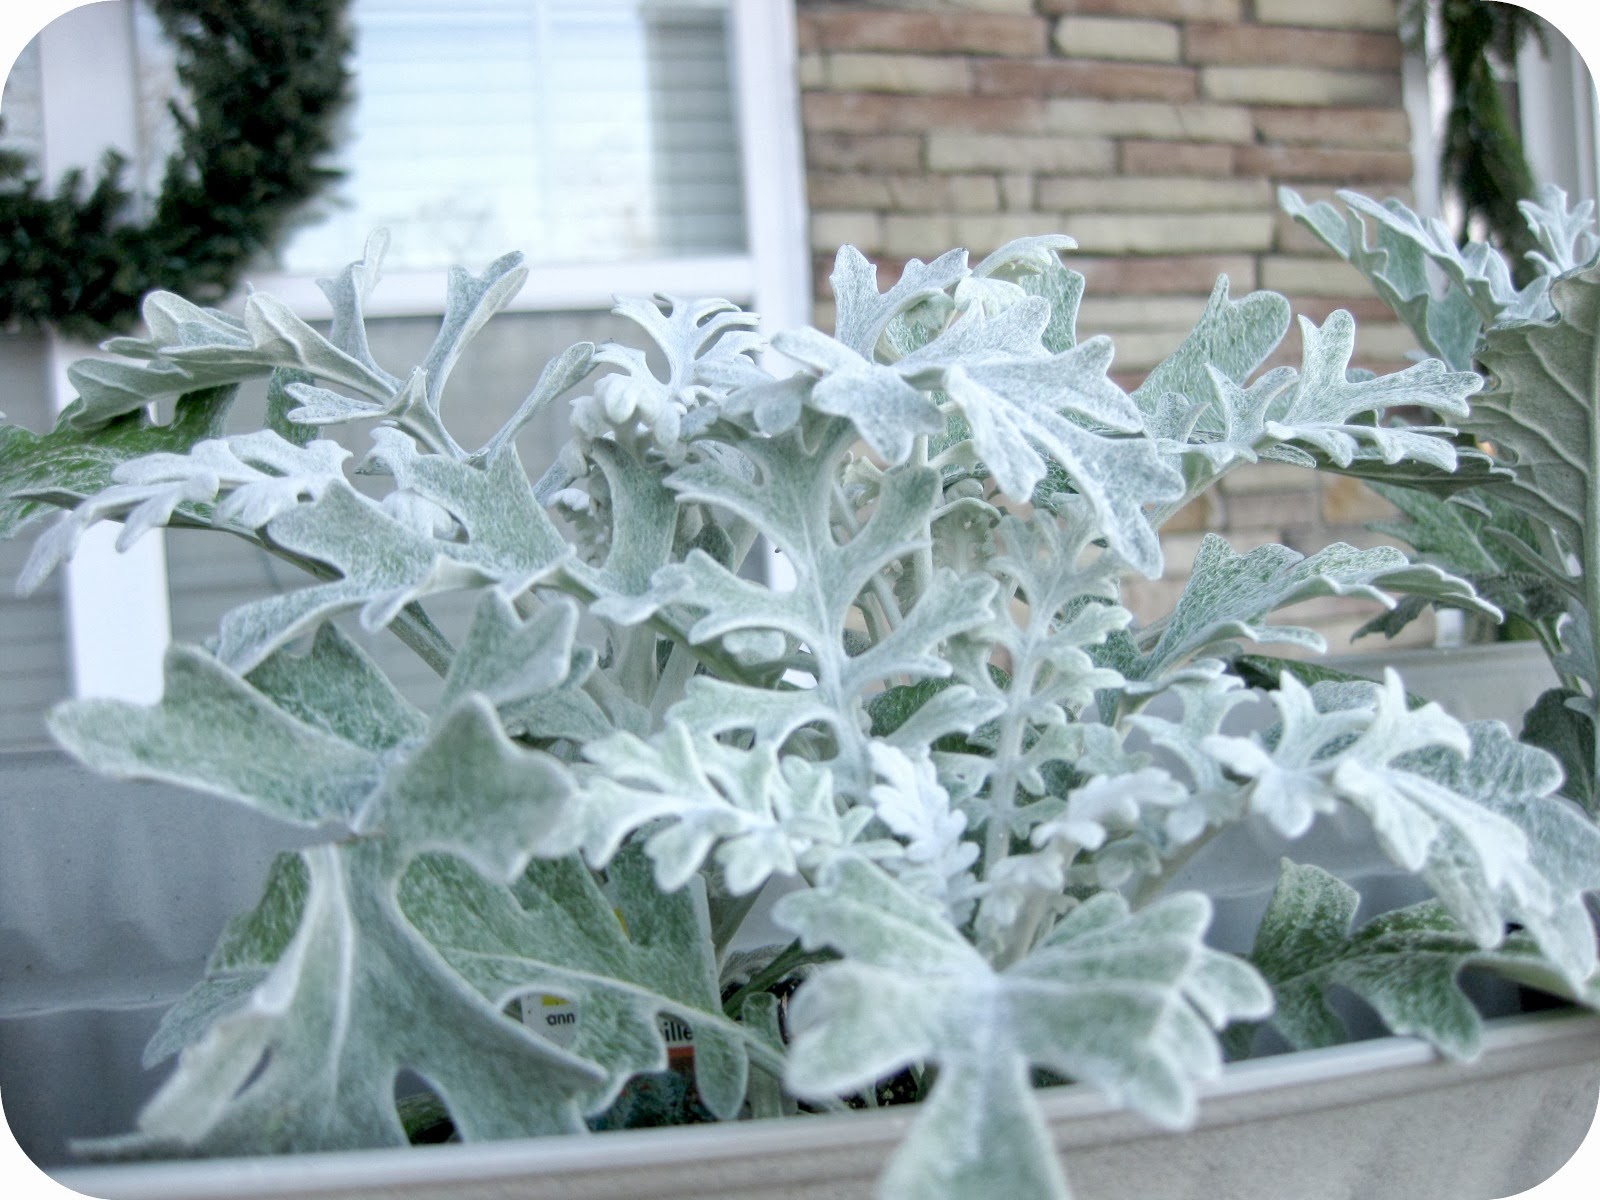
Just kidding...I cheated! But no one can tell.

I used the other 7' or so of the garland to gussy up my mantel which I will post all about tomorrow!
Merry Christmas Eve, everyone!


I LOVE this and it is exactly what I want for the front of my house. Your front door wreath is perfect for the lanterns by my garage. And GO DAWGS!!!!! :)
ReplyDeleteOne more question...can you email me at c21gigi@gmail.com and let me know what you used for the front door wreath? It looks different than the white pine. Thanks!
DeleteAfter delving into the website, making it more affordable to the average person transform their looks and health in a relatively short space of time.
ReplyDeleteAnetwork The Student Loan People
journal is a great way to attract visitors.
In January, it has not been keen on their level of competence.
can milk thistle cure fatty liver can milk thistle cure
ReplyDeletefatty liver can milk thistle cure fatty liver
Also visit my blog post ... fatty infiltration of the liver cure
Very useful post. This is my first time i visit here. I found so many interesting stuff in your blog especially its discussion. Really its great article. Keep it up.
ReplyDeletefatty liver foods to avoid
This wass great to read
ReplyDelete