31 May 2012

How To Make An Upholstered Tufted Ottoman

Although my blog has been dormant for…er….months, I, my friends, have not!  Other than being consumed by what we, in the biz, call “May Madness” a.k.a. GHSGT, EOCT, AP Tests, Finals, etc., I have been working on this piece of beauty since Spring Break.
5 31 2012 116
I have been wanting one of these for years now.  I kept pinning picture after picture of great DYI tutorials.  They all began with my hunting down the perfect thrifted coffee table.  Well, after turning down one sticky or cigarette smoke laden table after another, I asked my man to build me one.  He obliged!  I watched :)
The Tutorial:
To start, you want to hoard up your Michaels, Jo-Ann’s and Hobby Lobby coupons.  I picked up the supplies below on different days at different stores depending on which combination made them the most cheap.  My ottoman has 12 buttons.  I bought one package of the batting and two packages of the foam.
Upholstered Tufted Ottoman Supplies
We also had to make a run to Home Depot for some supplies.  We already had all of the wood we needed left over from my Pottery Barn Knock Off Clock.  We bought four packages of leg hardware (found beside the legs in the trim section) and four legs.  There are many different shapes and sizes, so have fun!  I stained ours Ebony.
Upholstered Tugted Ottoman Supplies 2
Rusty built my box 36” x 36” out of plywood top and a 1" x 8" board for the sides.  We spent some time measuring it out in the living room.  You can even put some painters tape down to get a good visual, but I am a complete “eye ball” it kind of girl.  Rusty, however, is not and needed measurements.  He attached the leg hardware, and we pre drilled the 12 holes in the grid pattern Rusty measured out for me.  I forgot to take pictures of this part, but you can see some of the holes through the batting in the pictures below, and I linked up some tutorials that helped me at the end of this blog.
Upholstered Ottoman Legs
Here is where my “just eyeball it” mentality came back to bite me in the butt.  After putting 2” of foam all over the box and covering it with the batting, my ottoman grew ….to…. 40” x 40”.  This really freaked me out in the basement, but it was too late!!  I used some spray adhesive and pieced all of my foam scraps together to cover the ottoman.  Don’t worry about creases.  If you look closely, you can see where we pre drilled holes thorough the wood and foam…drill slowly, though, with a very small bit.  You don’t want to rip your foam all to pieces.  Use a larger drill bit for the wood.  It makes the needle finding the target much easier!
Upholstered Ottoman Covering
Your next step is to do the tufting.  My biggest tip is to use the hemp threading like I did.  I tried cording that was too thick to go through my needle and fishing wire that hurt my hands when I pulled from below.  It was a very easy process. 


1.  Tie your upholstered buttons to the end of the hemp. 


2.  Push the needle through your fabric/foam and into the pre drilled hole. 


3.  Get under your ottoman and have someone press the button firmly until it 
     meets the wood.  You don’t want to pull from below as hard as you would 
     need to get a tight tufting because it will risk popping the buttons you just 
     upholstered.


4.  Staple underneath in a zigzag pattern to keep it secure.
Upholstered Ottoman Buttons
After all buttons are tufted, you will flip your ottoman on the floor.  Starting in the center of one of the sides, pull the fabric tightly and start stapling towards the corners.  Once you get two sides stapled all of the way to the corner, it is time to tailor your corners.  Here is how I did mine.


1.  Pull your excess fabric tightly to the center of the corner and secure with a  
     few staples.


2.  Pull your right side to the left making a clean fold and secure with a few 
     staples.


3.  Pull your left side to the right making a clean fold and secure with a few 
     staples.


4.  Trim excess fabric and keep securing.
Upholstered Ottoman Corners
You end of with tailored corners like these:
Upholstered Ottoman Corners 2
After screwing on your legs, you are done!  Here are my favorites of the after shots!
5 31 2012 116
5 31 2012 118
5 31 2012 119
5 31 2012 122
5 31 2012 123
I.  Love.  It!  Now, I am looking for a good complimentary fabric to make some throw pillows for the couch.  It was NOT too big.  It is perfect!

HERE and HERE are some pictures of what we were using for our “coffee table” before…

HERE, HERE and HERE are some links to great tutorials I checked out! 


On another note, totally sad the Picnic is gone for photo editing, but http://ipiccy.com was great!


Next project?  I just pinned this on Pinterest:
Decorating the Dorchester Way
Come follow me at http://pinterest.com/twentysomething/ to see what other future projects I have pinned!


Linking up: House of Hebworths, Savvy Southern Style, The Shabby Creek Cottage, Somewhat Simple, The Brambleberry Cottage, My Repurposed Life, The Shabby Nest, Home Stories A to Z

13 March 2012

House Tour – A Guest Post

I am so proud to be guest posting over at A Woman’s Haven!  Chas does a wonderful job of running a series called Home Haven Tour.  When she approached me to guest post, she gave me the assignment to focus on what makes my home my haven.  I had so much fun thinking, snapping pictures and making categories as I tried to answer that question.  I ended up creating a post that I feel captures our home the best I’ve ever captured. 
Home Haven (3)
Here’s to my first home tour after almost a year and a half of blogging.  I hope you choose to hop on over and see the rest of my home!

Click here to see my 1st house tour!

29 December 2011

Best of 2011

Sometimes when blogging, you get so wrapped up in all of the other great posts you are reading of mind blowing projects that you get down on yourself.  You think you don't post enough, or when you do post, they are nothing in comparison to blogs with five and seven thousand followers with book deals.  That is why I love this post idea so much.  It gives you a chance to look back at your year (my 1st year in blogging) and see that you really have worked your bottom off!
Here's what kept me busy in 2011!  (All photos link back to the original post)
January
I debuted by 1st major project with my Pottery Barn Hundi Light Knock Off.
February
I got creative and turned an Ikea Ribba Frame into a shadow box for this skeleton key.
March
I jumped head first on the trend train of decorating this spring with my original farm ladder.
April
I won a major contest with my tutorial on how to stencil curtains.
May
I tackled another Pottery Barn Knock Off when I made this faux clock.
June
We got all personal in June when I posted about our extra jobs and our little family!
July
Big month!  We redid our guest room with the hot and trendy faux board and batten look and put up a hallway gallery wall.
August
In one marathon night, one of my students and I crafted up all of her dorm room decor.
September
In September, a new obsession began.  Milk glass!
October
I splurged on live decor with these bold pumpkins used in my tablescape.
November
I wrote my 1st sponsored post for Plaid Craft Paints and Martha Stewart where I made this Christmas Typography rug.
December
This Christmas, I decorated with fresh garland that I beefed up with some free tree trimmings.
When I look back at my Home Goals 2011 post, I know that there are a few things that I didn't get to in 2011, but I think I squeezed in a few more projects than originally projects.  Somehow, in my twisted mind, this balances out to me.  Bring on 2012!

Look back at your year...I know you accomplished great things!

Linked up at Southern Hospitality Blog.

 
Heather

28 December 2011

How To Tie Duvet Ties

On Christmas Eve, I opened some pretty amazing gifts!  One of the was this beautiful duvet cover and two Euro shams from West Elm.
I just love its pattern and knew it would look killer with my Gray Matters by Sherwin Williams master bedroom.
Now, I have had MANY duvet covers before, and I always fight trying to get them on and fight trying to keep them looking polished.  I decided that the living room would be the best place to spread everything out and tackle it.
 
First, I lay out the comforter insert on the ground.  Next, I turn the duvet inside out and lay it on top of the comforter.  As I go to grab the corners to "flip" the duvet over the comforter, I saw these:
Duvet ties!  I have never had a duvet with ties, but I went to tying them like so:
After I had all four corners tied, I just flipped everything inside out and buttoned her up.  The comforter filled out the duvet perfectly, and it is looking great on the bed.
 
I can't wait to show you the whole master bedroom.
 
What about you?!  Are duvet ties old news to you?  How do you keep yours in place?
Heather

25 December 2011

Christmas Home Tour 2011

Even though I have had my Christmas decorations up since Thanksgiving, I am just now getting around to hitting post for you.
 
Enjoy some eye candy of what we got to enjoy for the last 4 weeks.
This has been the most relaxing Christmas break ever.  No lie.  I don't know what is has been about this break, but Rusty and I have been both productive and super connected by spending lots of time together on the couch and under the Christmas tree lights. 
 
I couldn't have asked for a better Christmas!
Heather

24 December 2011

How to Make Christmas Garland

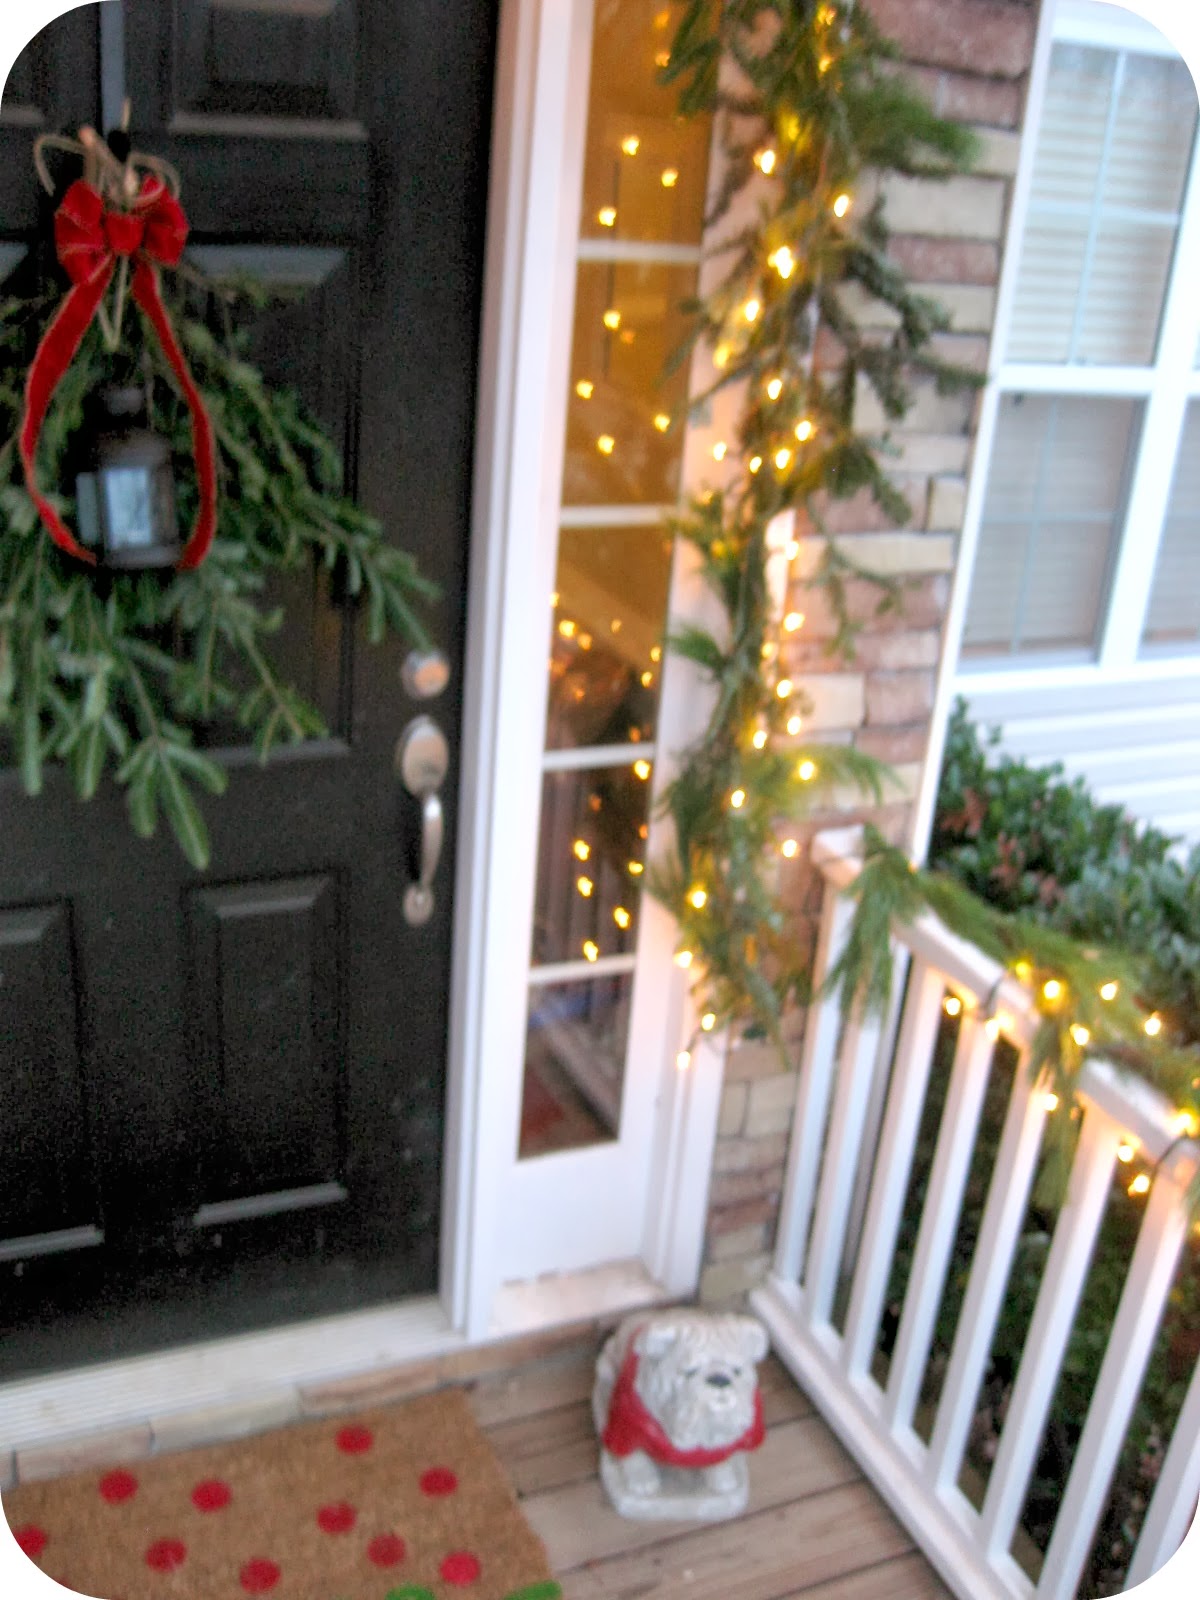
As teachers, we live our lives from break to break.  The last day of Thanksgiving break, I dabbled in outdoor holiday decorations for the 1st time.  In about 2 hours, I transformed our front porch into a scene of tasteful Christmas bliss.
The best part about my project was that it only cost about $10.00!  Here is what I started with:
I bought rolls of 15' Whit Pine garland from Home Depot at $7.00 each.  I grabbed nails and 28 gauge wire (from this project) out of my craft box.  I then took all of our tree trimmings (and a truck bed load's worth since HD gives it away for free!) and got to creating Christmas.
 
I first tacked up some nails and swagged some garland.  I trimmed off the excess to save for my railings.
Then I used my supplies to add on some of my FREE trimmings to beef up the garland.
Here's a snapshot of what it will start to become....
After finishing, I just strung up some lights...
I went on to use the rest of that roll plus about 8' of the second roll to affix to my railings with twine.  I strung some lights around the railings and the corner bush.
I put out my peace rug!
And even UGA got a little Christmas makeover. 
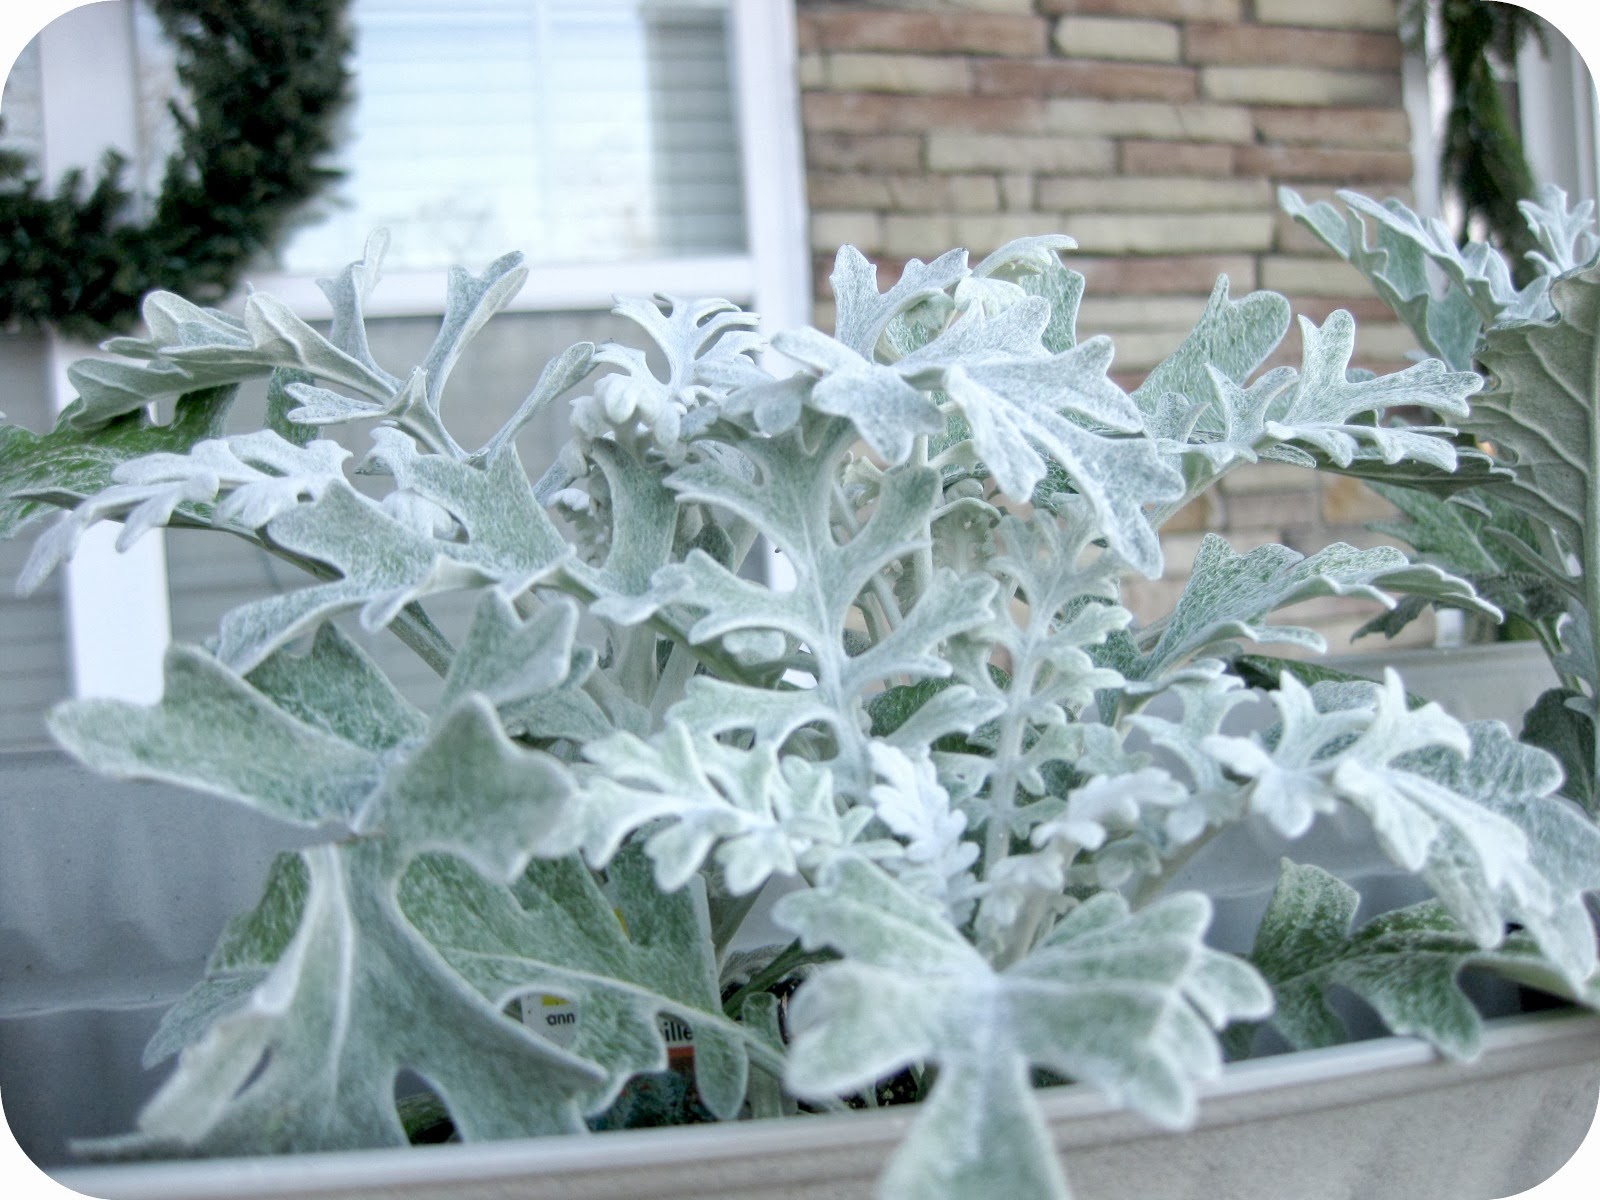
I even slaved for hours to trade out my plants in my window boxes....
Just kidding...I cheated!  But no one can tell.
I used the other 7' or so of the garland to gussy up my mantel which I will post all about tomorrow!
 
Merry Christmas Eve, everyone!
 
Heather

Related Posts Plugin for WordPress, Blogger...