15 April 2011

How To Stencil Curtains

I am SO excited because today, I am guest posting over at Little Blue Chairs.  Laurie runs this blog, and she is one of my Circle of Bliss BBFs (Best Blog Friends).  She has created some major projects over there!
She did a complete overhaul of her daughter's room.
She successfully slipcovered a chair.
Her striped living room floors are insane!

I love that I get to guest post for her for two reasons:  1) She is getting her see her hubby after 6 months of being apart.  He has been working overseas, so the last thing on her mind when he gets home is her blog!  2) I just finished a HUGE project/tutorial.

Here is my guest post:

Since Christmas, we have been redoing our breakfast nook.  We have painted, installed wainscoting and switched out the table.  I am now ready to begin layering on the accessories and accent colors.  After lusting after some Forsythia plants at the edge of the transportation department's driveway and stealthily snatching some for a centerpiece, I fell in love with the pop of yellow it gave the nook.  Since curtains are the next most dramatic thing you change in a room besides paint color, I set out to make some curtains inspired by this West Elm photo:

The wonderful folks over at Cutting Edge Stencils, sent me a wall stencil to test out.  I have wanted to stencil something so bad, and I started off with my curtains.


Supplies:
  • Curtain panels (Ikea Vivan in white)
  • Acrylic Paint (Craft Smart, Yellow)
  • Fabric Medium (Delta Ceramcoat)
  • Stencil (Zagora Allover Stencil)
  • Foam Roller
  • Brown Craft/Painter's Paper

Steps:
1.  Cover a large, flat working area with heavy paper to catch all paint that might bleed through.  I used my breakfast nook floor.
2.  Wash and dry curtains.  This will keep the curtains from drawing up later on when your basset hounds "hound" all up on it when you let them sleep inside....


3.  The directions say to iron the curtains, but mine were not wrinkled when they came out, so I just skipped this step and smoothed and tugged out the wrinkles.


4.  Mix your paint.  You can use fabric paint, but I found that it was too expensive.  I just bought acrylic paints and a product called Fabric Medium.  You just mix 2 parts paint to 1 part fabric medium, and you will have tons of fabric paint for next to nothing!  Play around with your shades by adding colors together until you get the color your want.  I took my yellow to a more muted yellow by adding some of my leftover wall color Pearly White by Sherwin Williams.
5.  Place your stencil in the upper left hand corner (if you are right handed like me) and add a few pieces of blue painter's tape to hold it down.
6.  Prepare your brush by rolling into paint and removing excess on a dry paper towel.  You could also roll right on for a faster, thicker coverage.
7.  Stencil your first section. 

8.  Repeat last two steps until your are done!

Now, here are all of the little helpful tips I learned along the way that I hope can help you out:

It is very possible for the fabric to misbehave and ripple under the stencil or behave perfectly.  Both are fine because you can't tell when you are done!
When you are done stenciling a row, pull the whole curtain up and lay it back down to keep the paper from drying to the curtain.  I wouldn't pull your curtain down after each square because it actually helps keep your fabric tight and makes it easier to align.

When stenciling fabric (especially curtains), you will NOT get the stencil to line up perfectly because the fabric will pull all different ways and stretch.  Stop stressing about this since they will hang and flow anyway!  It's just like not shaving your legs in the winter...no one has to know!
Once you have lined it up as much as possible, carefully stencil the pattern beside it without going over the pattern in the overlapped areas.
In tight corners or edges, you can turn your foam roller sideways and use a tapping motion.  This works well in the parts of the stencil beside where you have lined up with the last area you stenciled and you don't want to roll over any parts that are not matched up.
Drum roll please.....
BEFORE
AFTER
I really love how they turned out.  They look so much like my inspiration curtains from West Elm!  I can't wait to get into my guest bathroom and stencil away.  It will be a breeze after stenciling these slippery curtains!

If this project really matches your style, I have linked my top 3 blog posts to the images below.
Pottery Barn Hundi Knock Off Lantern
Pottery Barn Jewelry Holder
White Mantlescape

The project won the Knock-It-Off Contest over at Seven Thirty Three!!

08 April 2011

Scribbling at Midnight

It's no secret; I have a slight infatuation with sketches of the female body.  I think they would look so perfect in a private master bathroom.  When I see one, I always consider buying it.  I found some here at Ikea and here at the Scott Antique Market. However, in the back of my mind, I always thought that I could do a simple sketch myself...even though I have NO artistic ability and even screw up drawing stick figures!!


Well, last night I decided to do it.  I bought a 16x20 canvas at Hobby Lobby for $3.50 and found a pencil in my office.  I practiced an idea of a sketch about four times until I felt comfortable drawing it out on the canvas (I know, big risk...$3.50.  Why is it we are so scared to even TRY some new idea?)


I laughed and laughed as I was drawing these.  
Here, let me write some captions:

  1. After sitting on the couch for hours and hours watching The Real Housewives of Atlanta and eating cheese and crackers, I had to peel myself off of the couch to get a coke.
  2. I got through horseback riding and my bottom half just stayed this way.
  3. I played a rough game of all-girl soccer, and I was the goalie.
  4. I am Kim Kardashian's body double for nude scenes (yeah right, lol!)

Here is what I ended up with.
I am trying to decide if she looks too well endowed, haha!  Since it is only pencil, I can just go back and redo any parts I don't like.
From here, I am trying to decide if I want to keep it as a pencil sketch, go over it with smoky charcoals, dry brush it black or dry brush it several different colors. 


What do you think?

27 March 2011

Initial Art:: The Writing on the Wall

A few weeks ago, I made a huge list of to-do projects and blog posts that need to be done around here.  I figured this would help me focus when I came home with some time and just needed a project.  Of course each of the projects take different amounts of time, and this weekend, I needed one that only took a minute.  I went to the list and revisited some inspiration photos here and here.  I ended up having everything around the house!  I purchased 3 frames on clearance just this weekend and had a stash of scrapbook paper in my office.
I love how I was able to customize my initial art!  I spread out about 15 different pieces of paper in my master bedroom floor and chose two grays and a pop of blue for color.  This project was so relaxing to create since I kept thinking about how, if I didn't like the colors, I could just rip them out and reprint!  There is some kind of comfort in knowing that things DON'T have to turn out and CAN be changed (for free, too!)

To ensure that my experimental art wouldn't rip the paint off of my walls, I bought the 3M Command Strips designed for hanging pictures.  They were SO great.  All I did was stick one strip on the back of each frame in the same place and "lock in" the matching strip right on top (see below).  This product is similar to Velcro, but is designed to "lock" together with these heavy-duty teeth and not just "stick" together.
Although the frames looked cute on the nightstand, they took up a lot of room.  Also, I had this blank space above our bed that I thought needed filling. 
 So, up they went.  All I had to do was pull the back of the second Command Strip and press firmly to the wall.  I didn't worry with levels or rulers.  I just eyeballed it!
They turned out to be the perfect FREE art to fill the space above our bed.  Yes, they are also in the correct position.  The left is my side and the right is his side (although he will tell you my side is in the middle, but that placement wouldn't have looked quite as nice above the bed)
(please note that the red shades aren't staying!  I got a great deal on the lamps at Home Goods and am still thinking of what fabric to recover them with)

If you are loving the fonts, you can download them for FREE at http://www.dafont.com./  Here is what I used for my art: 
{H} Constanze, font size 370
{and}Sunshine In My Soul, font size 150
{R} Rough Typewriter, font size 400.

What is hanging over your bed? 

I'm Linking Up:


The Lettered Cottage

21 March 2011

My Tchotchke Could Be Your Tchotchke


Not only am I tickled to be in The Circle of Bliss, I am even more tickled to know the creative author of the blog Beauty In The Attempt.  This is the second insanely unique bloghop she has created. 


The purpose of this bloghop?  It's easy:  Put something in your house that you don't feel fits your style anymore into the hands of another blogger who just MUST HAVE IT TO MAKE HER LIFE COMPLETE!!!


Here is what I am offering:
Here is the low down in the item.  It is a basket that Rusty and I bought on a vacation in the market in Charleston, South Carolina.  We were told it is covered in large grape leaves.  It has a knotty vine wrapped around it to serve as handles.  I have stored many things in this basket over the ears.  In fact, it is still my style, probably.  I just happen to have bought two of them, and my house is not large enough for you to see it in one room of the house and forget you saw it later on in another room, lol!


Are you coveting this basket?  It is TOO easy to make it yours:
{1} Become a follower of {twenty}something 
{2}  Leave a comment about how you MUST have it
{3} On Tuesday, March 29th, I will give it to the one commenter or use a random generator to fairly give it away


It is not necessary for you to link up with an item you are giving away, but it sure would be more fun!  You can cater your entry to meet any requirements you want.  Customize it!  


You keel hopping while I start shopping!


Oh yeah, the shipping is on me for my item!

16 March 2011

Decorating with Ladders

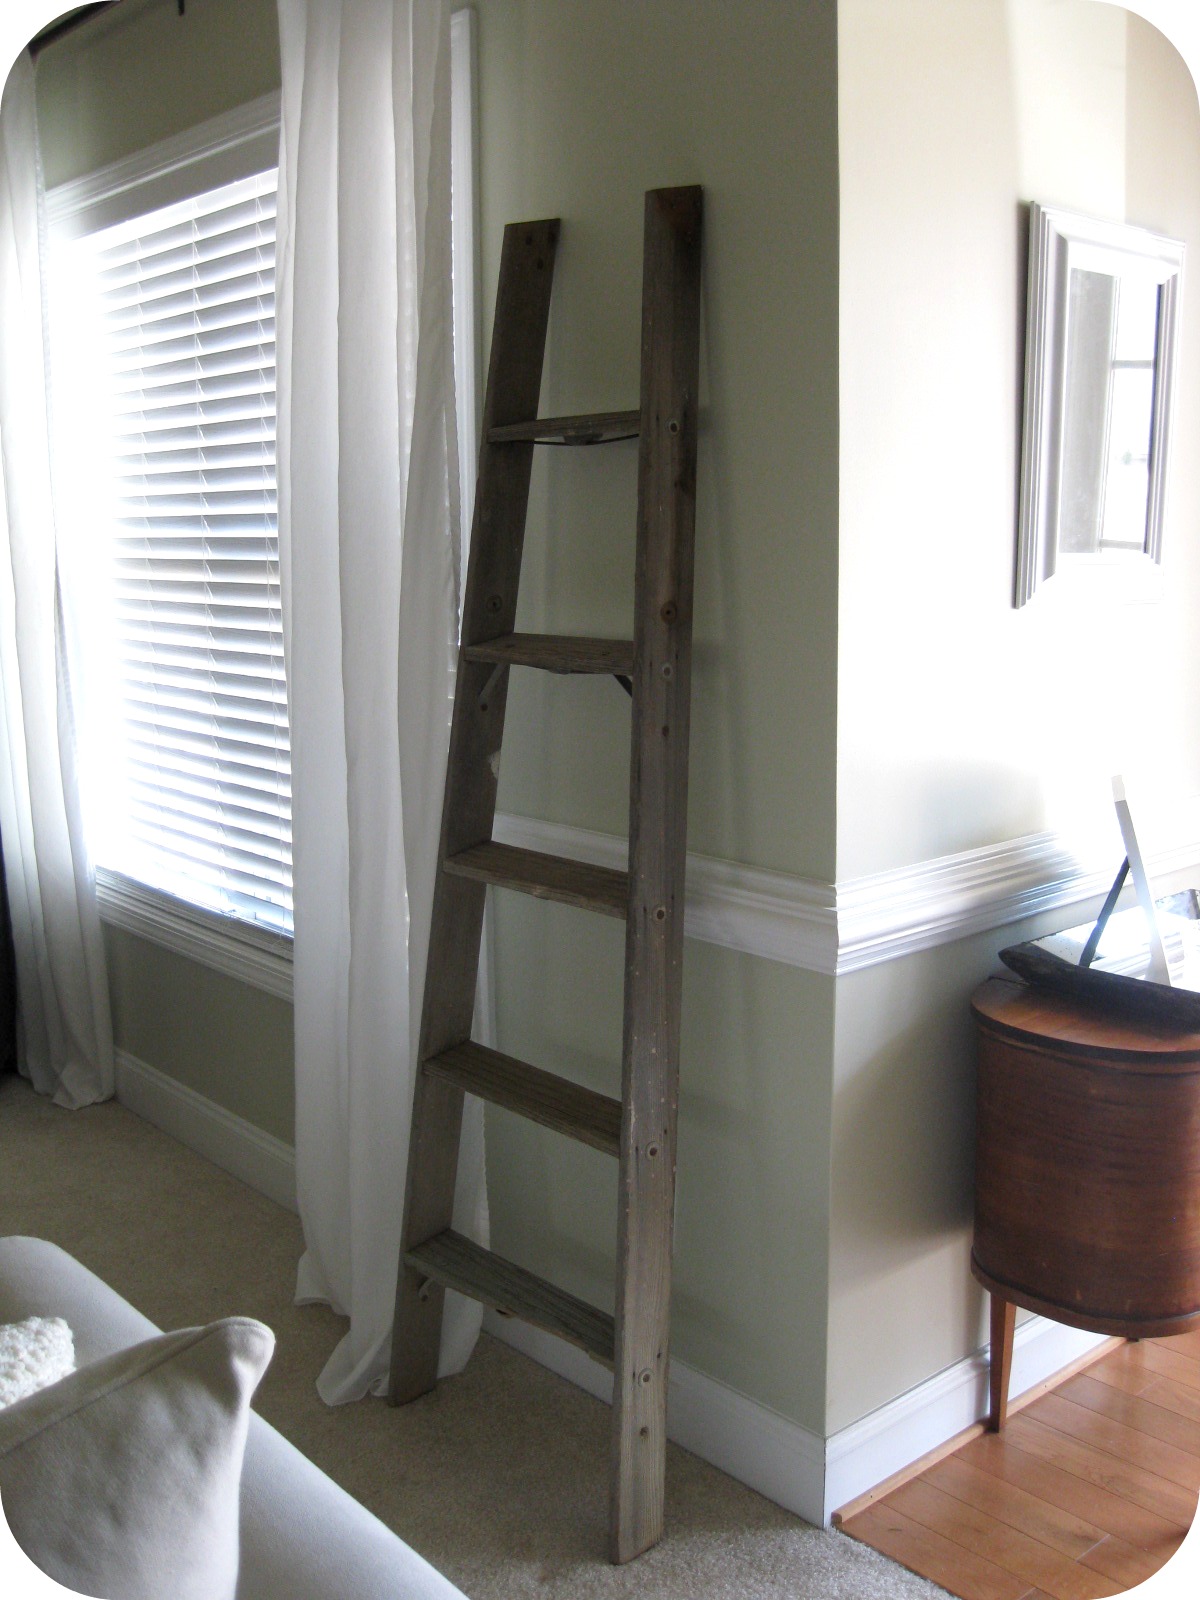
This weekend, Rusty set me up on the porch with my ladder, his drill and a bit kit.  It wasn't 5 minutes before I was calling him back for help!  50 year old screws and hardware don't come out easily.  He worked and worked on those metal pieces for about 30 minutes.
 After he literally pulled out and broke off some of the metal pieces, I was left with two identical ladders.
Right away, I toted them inside and tried them everywhere.
I think I am about to hit "buy" on Perfectly Imperfect's e-book Creating Your Masterpiece to browse the different painting techniques before I dip my brush in the can! 


I can't wait to put it somewhere all painted up and toss a throw over it or prop a few books up on a rung! 

Linking up:


Related Posts Plugin for WordPress, Blogger...